Traditionally, house photos have been used for marketing a house or building. In recent years, videos have taken the real estate world by storm and are also used as a selling tool.
The advantage of video over still photos is that you can show the house—how it looks and feels, what the atmosphere is like and how much there is to see.
It can also be a perfect way for potential buyers to learn about the house’s history, mainly if any changes or renovations have been made in recent years.
The following tips will help you make a great video of your property to use in the sale process:
Here are ten easy-to-follow tips for making your video:
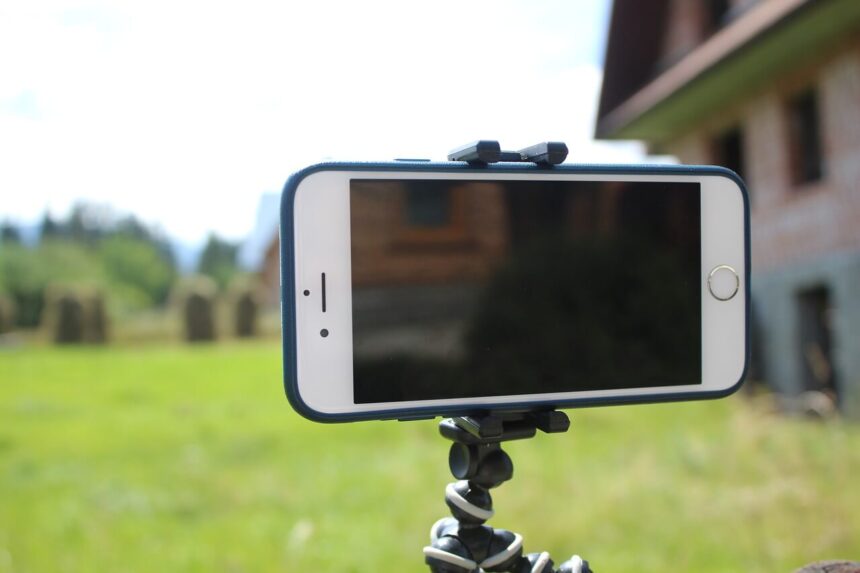
- Mobile Device – You don’t need a special camera to take your video. Smartphones are great for taking videos because they’re small, convenient, and easy to use.
- Time of day – Try to film during the day, if possible. If you need to film at night or indoors with artificial light, ensure plenty of it and that it’s positioned correctly for your camera.
- Film close-ups – To show detail (and sell), start filming as close to the critical features as possible—doors, windows, floors, walls, ceilings, and any built-in light fixtures.
- Lighting – Make sure you film in different lighting conditions—bright and low, with windows facing north or south to allow direct sunlight into your house. For a bright, cheery feel in a video, position the camera with a window behind it and in front of the subject (the house).
- Music – Music sets the mood for your video. It’s advisable to have a different theme for the intro, body of the video, and outro.
- B-roll – To keep your film moving, use B-roll (additional footage) such as images or video clips taken from a different angle or showing parts of your house that you don’t want to highlight—the garage, the backyard, or the entrance, for example.
- Cutaways – While taking your footage of the house, don’t forget to include cutaways (shots that are not directly related to your filming but support it) such as architectural features in a room, views from within the house, and images showing how much space there is around your home—for instance, the backyard, front porch, and driveway.
- Keep it short – While you can’t judge how long a video for your house should be, keep it under three minutes or longer if you have plenty of images or footage to add. This will ensure that viewers don’t get bored with your film.
- Stabilize the camera – If you’re taking a video handheld, ensure your camera is steady. Otherwise, use a tripod or other stabilization method to keep the shot from shaking while you film.
- Don’t cut corners – Make sure the quality of your audio and visual footage is excellent. Your viewers will expect it—and they’ll click away if they’re disappointed.
In Summary
Taking videos of your house doesn’t have to be complicated or expensive. Don’t be too concerned about production values; focus on what’s most important: showing viewers why your house is extraordinary and the memories you made there.


